
Getting started#
This is the tutorial for EasyReflectometryApp and how to use it.
Version: 1.5.0
Home page#
When opening up the EasyRecletometryApp you are presented with the Home page.
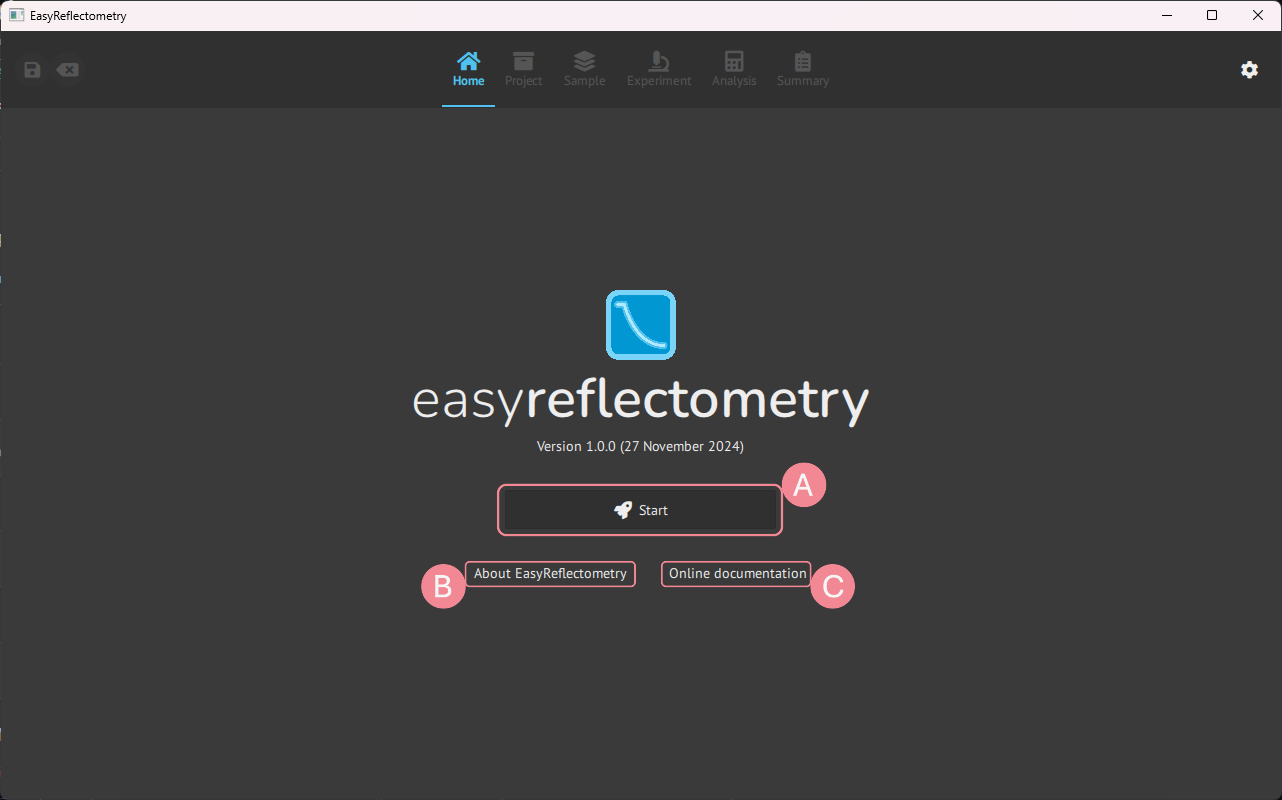
A: Starts your project.
B: Pop-up window with source information.
C: Link to developer documentation.
Intialise project#
Pressing A will direct you to the Project page.
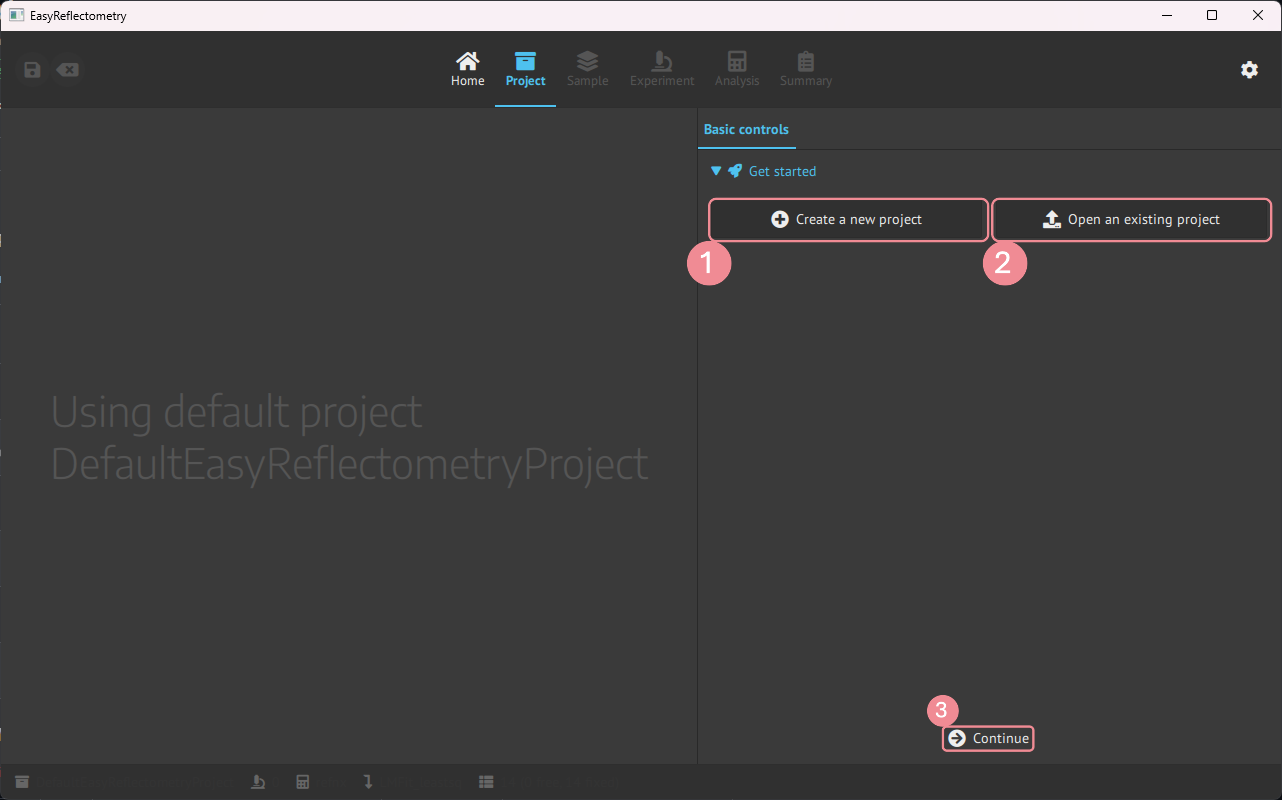
1: Create a new project as a folder containing experiments and a JSON file for settings.
New projects need a name, description and set the save location.
2: Opens a previous project from the JSON file.
3: Continues to the next page, here it is Model.
This button is universal throughout the app and will always forward you to the next page.
If no project is selected/created a default project is initialised.
This project is used going forward to explain the app.
Save and settings#
When a project is started two further buttons is visualised, and settings is the opposite corner of those.
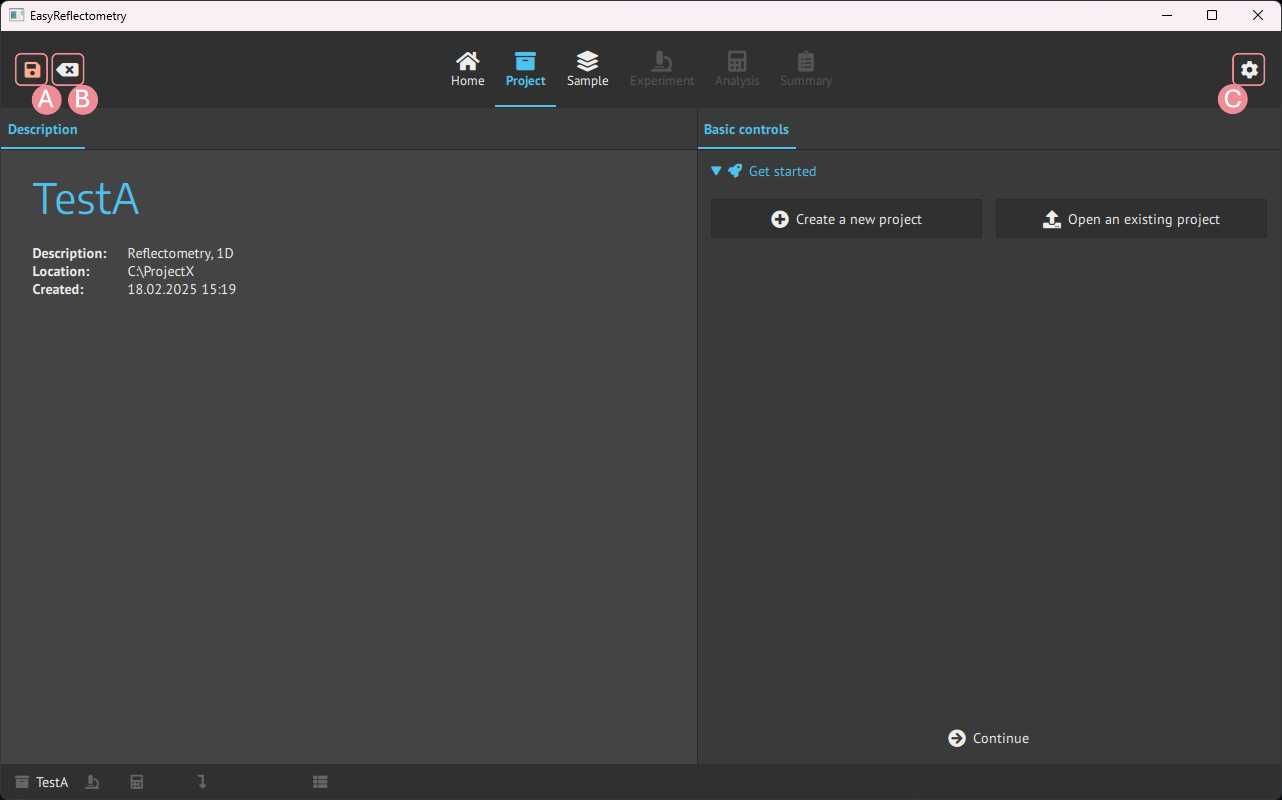
A: Save project.
B: Reset to start.
C: Setting, is further explained in settings.
Sample structure view#
The Model page has a Structure tab next to Reflectivity showing a schematic of the current model’s layer stack: one colored box per layer, ambient medium on top, substrate at the bottom. Boxes share a color per material (see the legend), box heights follow layer thickness, and repeated multilayers with many repetitions are drawn once with a “× N” badge.
Hover a box for its material, SLD, thickness and roughness; click it to select that layer in the sidebar editor. The view updates immediately when the model changes, including after a fit.
Note the view is a schematic, not a to-scale cross-section: heights are clamped so very thin layers stay visible and very thick ones do not crowd out the rest.